
Technische Schwierigkeit
Dauer des Verfahrens
Anzahl der Schritte im Tutorial
Notwendige Ersatzteile


Ersatzwerkzeuge
Füge alle Hinzu

Code: 13940

Vorteilhaftes Zubehör

This manual will help you replace a cracked of dysfunctional iPhone X display.
The upper module of the device, which contains the earpiece speaker and sensors, is firmly paired with your iPhone X since manufactured. Therefore, it is necessary to transfer it on to the new LCD assembly, otherwise your iPhone will not work. In case of damaging the module, the device may only be repaired by Apple.
Opening the iPhone X will compromise the waterproof seal under the display. If you won’t replace it, your device will function, without being waterproof.
Replacement parts for iPhone X can be found in our offer on our e-shop. If you are interested in a service task for iPhone X, visit one of out branches and we will arrange a same-day repair.
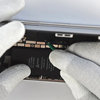
Schritt 1 Opening the device 1
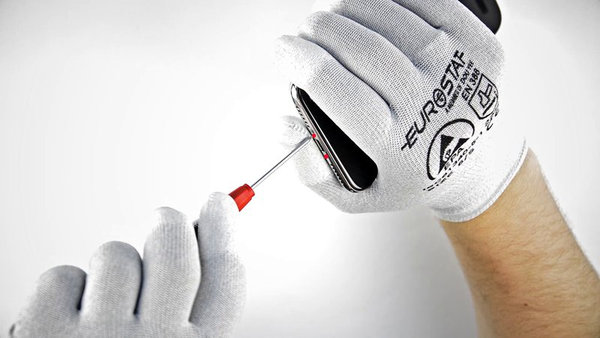


- insert a pick into the gap
The waterproof adhesive, which secures the display, is very strong and therefore creating this gap requires a great amount of strength. If necessary, move the display up and down to loosen it and create enough space for the spudger.
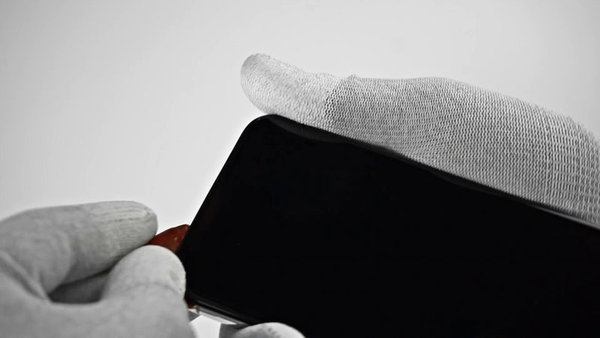
- gently slide the pick to the left along the bottom edge of the iPhone
- gently tilt the pick, to enlarge the gap
Schritt 2 Opening the device 2
- if you display is badly damages and cracked, before you begin, cover it with a transparent adhesive tape
- insert the pick into the gap
- the waterproof adhesive, which secures the display, is very strong and therefore creating this gap requires a great amount of strength
If necessary, move the display up and down to loosen it and create enough space for the spudger.
- gently slide the pick to the left along the bottom edge of the iPhone
- gently tilt the pick, to enlarge the gap
- slide the pick to the left side of the iPhone, moving up and down all the way to the upper edge.
Do not move it on to the upper edge yet.
- move to the right side of the device and using the same movement as until now, separate the display from the cover
- do not insert the pick way too deep inside, as this could damage the display cables on this side of the device
- insert it in only into a maximum of the width of the frame
- move the pick on the upper side of the display, to break through the remaining adhesive
- even in this place, do not insert the pick deeper inside than to the edge of the display, as you could damage the upper sensors
- the upper side may be difficult to separate. In case of need, separate the display from the adhesive by a gentle movement, until it loosens
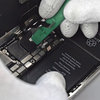
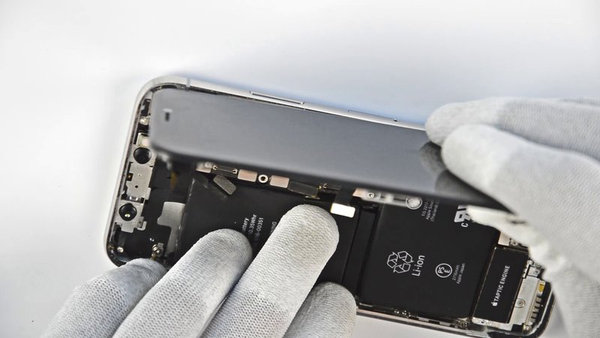
Schritt 3 Opening the device and disconnecting the battery connector
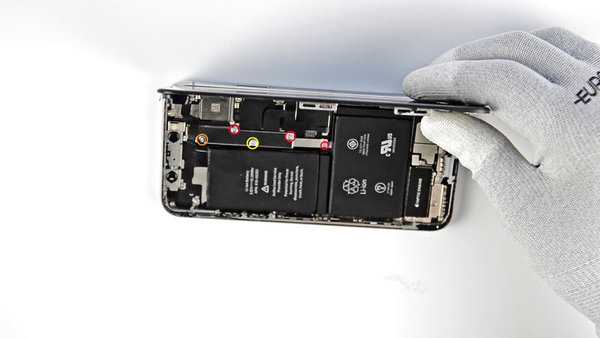
- open the iPhone by folding the display to the right, as when you open a book
- do not try to completely separate the display assembly yet, as it is still attached with fragile cables
- remove the four Y000 screws, which secure the bottom connector bracket
- three 1,2 mm screws
- one 2,4 mm screw
- make sure that you return the screws to their original place to avoid damaging the device
- remove the bottom connector bracket
- use the tip of the spudger or fingernail to disconnect the battery connector from the motherboard
Try not to damage the black silicone which surrounds this and other connectors. This silicone provides extra protection against water.
- gently flip the connector away from the motherboard and other connectors to avoid their contact and possible cut-off
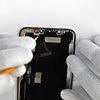
Schritt 4 Disconnecting the front sensor connector module


- use the tip of a spudger or fingernail to disconnect the front sensor connector module
Schritt 5 Disconnecting the OLED panel connector
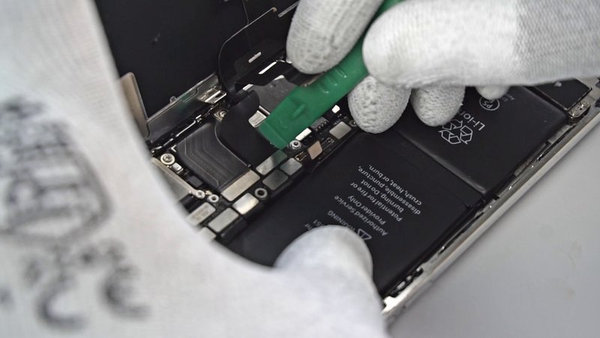
- use the tip of a spudger or fingernail to disconnect the OLED panel connector
Schritt 6 Disconnecting the touchscreen connector
- use the tip of a spudger or fingernail to disconnect the touchscreen connector
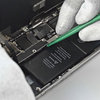
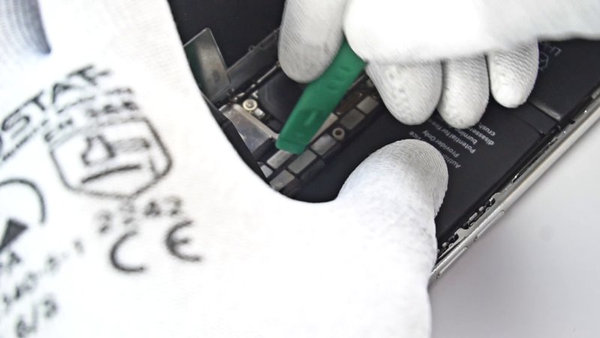
Schritt 7 Separating the display assembly from the rare cover
- the flex cable is lightly adhered in place
- gently lift the flex cable until the adhesive loosens
- separate the display assembly form the rare cove
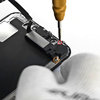
Schritt 8 Transferring the sensor and earpiece speaker module

- remove the 1,2 mm Y000 screws on the old LCD module, which is located near the infrared camera port
- under the screw which you removed, is a small metal grounding clip. If it did not separate with the screw, remove it using tweezers
When reinstalling, return the clip to its original place in its original position, in which you need to secure it while screwing.
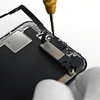
Schritt 9 Disassembling the speaker/sensor screws
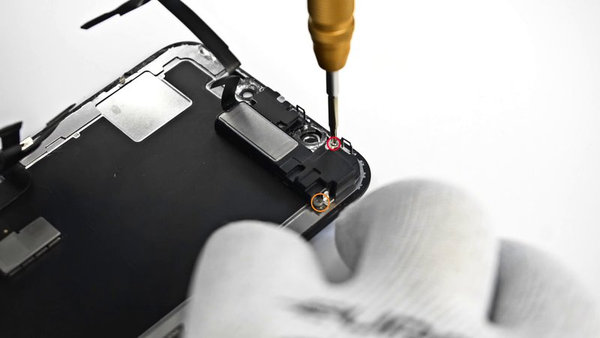
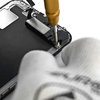
- remove the two Y000 screws, which secure the speaker/sensor module
- 1,6 mm screw
- 1,3 mm screw
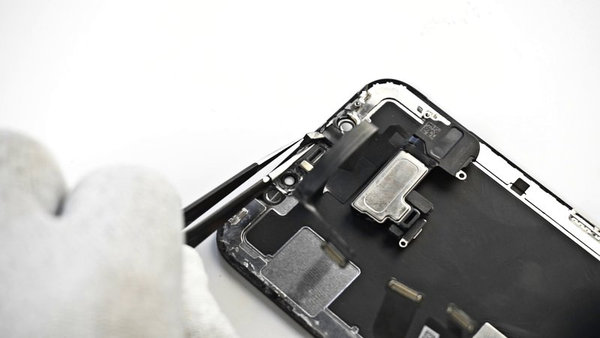
Schritt 10 Disassembling the earpiece speaker
- the earpiece is lightly adhered
- insert the spudger underneath the speaker and flip it along horizontal axis – downwards from the edge of the device
Schritt 11 Removing the earpiece speaker

- from the left side, gently insert the pick under the flex cable and move it underneath towards the right.
- by wiggling detach the module from the display
During this process, it might be helpful to hold the earpiece speaker outside of the device. Always be careful not to rip the flex cables.
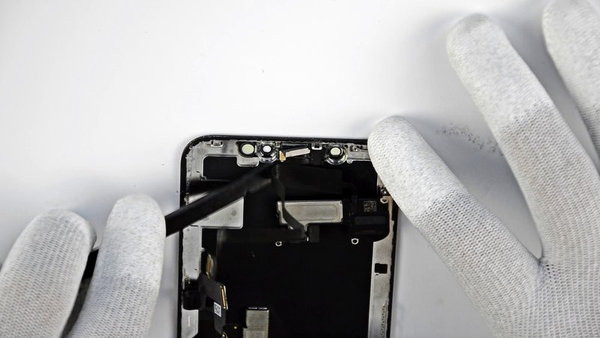
Schritt 12 Removing the light sensors
- use tweezers to wiggle out the light sensor from its place in the display
The sensor remains attached with a very thin flex cable. Be careful not to damage it.
Schritt 13 Removing the sensor and earpiece speaker module from the device
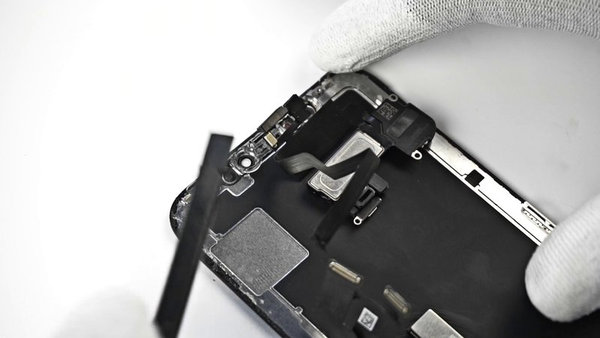
- remove the sensor and earpiece speaker module
- when reinstalling, be careful to return all the sensors into their original place.
- the sensors must be positioned so that they are not obstructed by any remaining adhesive
- when installing a new display assembly, follow these steps in reversed order

Grüne Ideen
Wir optimieren ständig unseren CO2-Fußabdruck, um unseren Planeten zu schützen. Erfahren Sie mehr darüber, wie wir unsere Prozesse anpassen, um unseren Fußabdruck zu verringern.